Creating an MCP Server Service
Quick Reference
| Property | Value |
|---|---|
| Service Type | MCP Server |
| Required Fields | Service Name |
| Auto-Generated | OAuth Client ID, OAuth Client Secret |
| Authentication | OAuth 2.0 |
| API Discovery | Automatic — all database and file services are detected at connection time |
| Supported AI Clients | ChatGPT, Claude, Cursor, any MCP-compatible client |
Overview
The Model Context Protocol (MCP) is a standardized protocol that enables AI assistants and development tools to interact with your DreamFactory services through a consistent interface. Despite the growing popularity of direct API integrations, MCP-based connections remain an essential part of modern development workflows, allowing AI assistants like ChatGPT, Claude, and Cursor to seamlessly query and manipulate your resources.
But incorporating MCP functionality into your development environment can be challenging. Fortunately, you can use DreamFactory to easily create a full-featured MCP server that exposes your services through the Model Context Protocol. A single MCP server automatically discovers and provides access to all database and file storage services configured in your DreamFactory instance. This includes:
- Exploring database schemas, tables, and relationships
- Querying and filtering table data with advanced options
- Creating, updating, and deleting records
- Calling stored procedures and functions
- Managing file storage (listing, reading, creating, and deleting files and folders)
In this tutorial we'll show you how to configure DreamFactory's MCP server service, and then walk through several usage examples.
Generating the MCP Server and Companion Documentation
To create an MCP Server service, log in to your DreamFactory instance using an administrator account, select the AI tab, and then click the purple plus button to create a new connection:
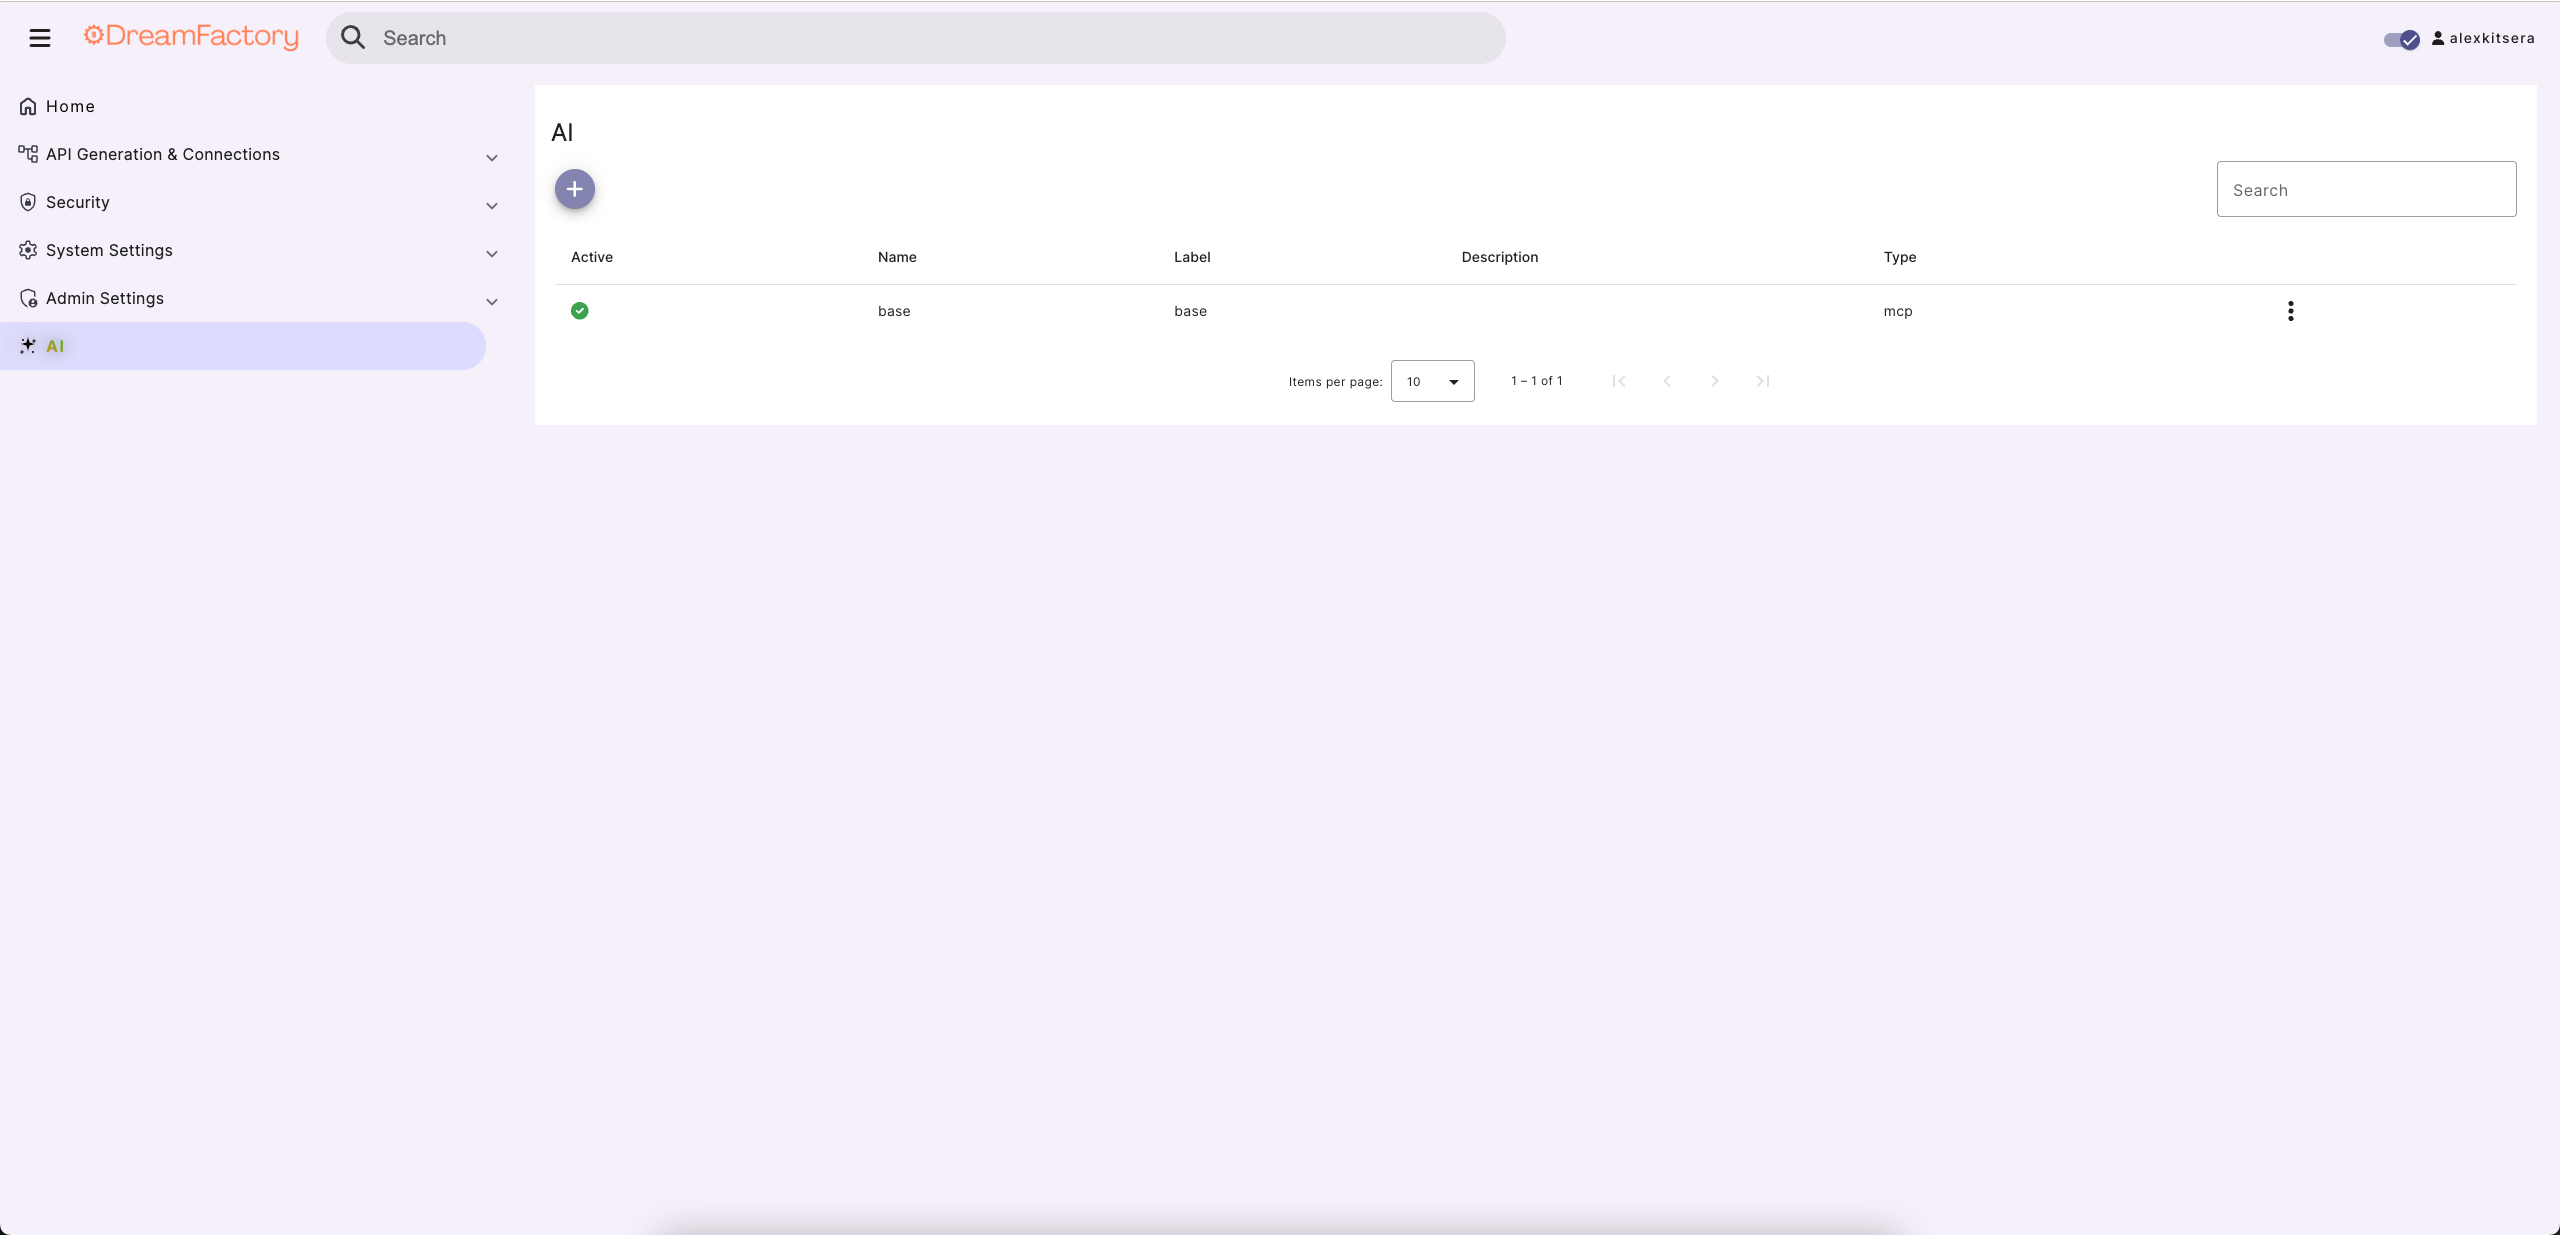
MCP Server Service is currently the only available selection. More AI connectors are on the way, so stay tuned for upcoming additions.
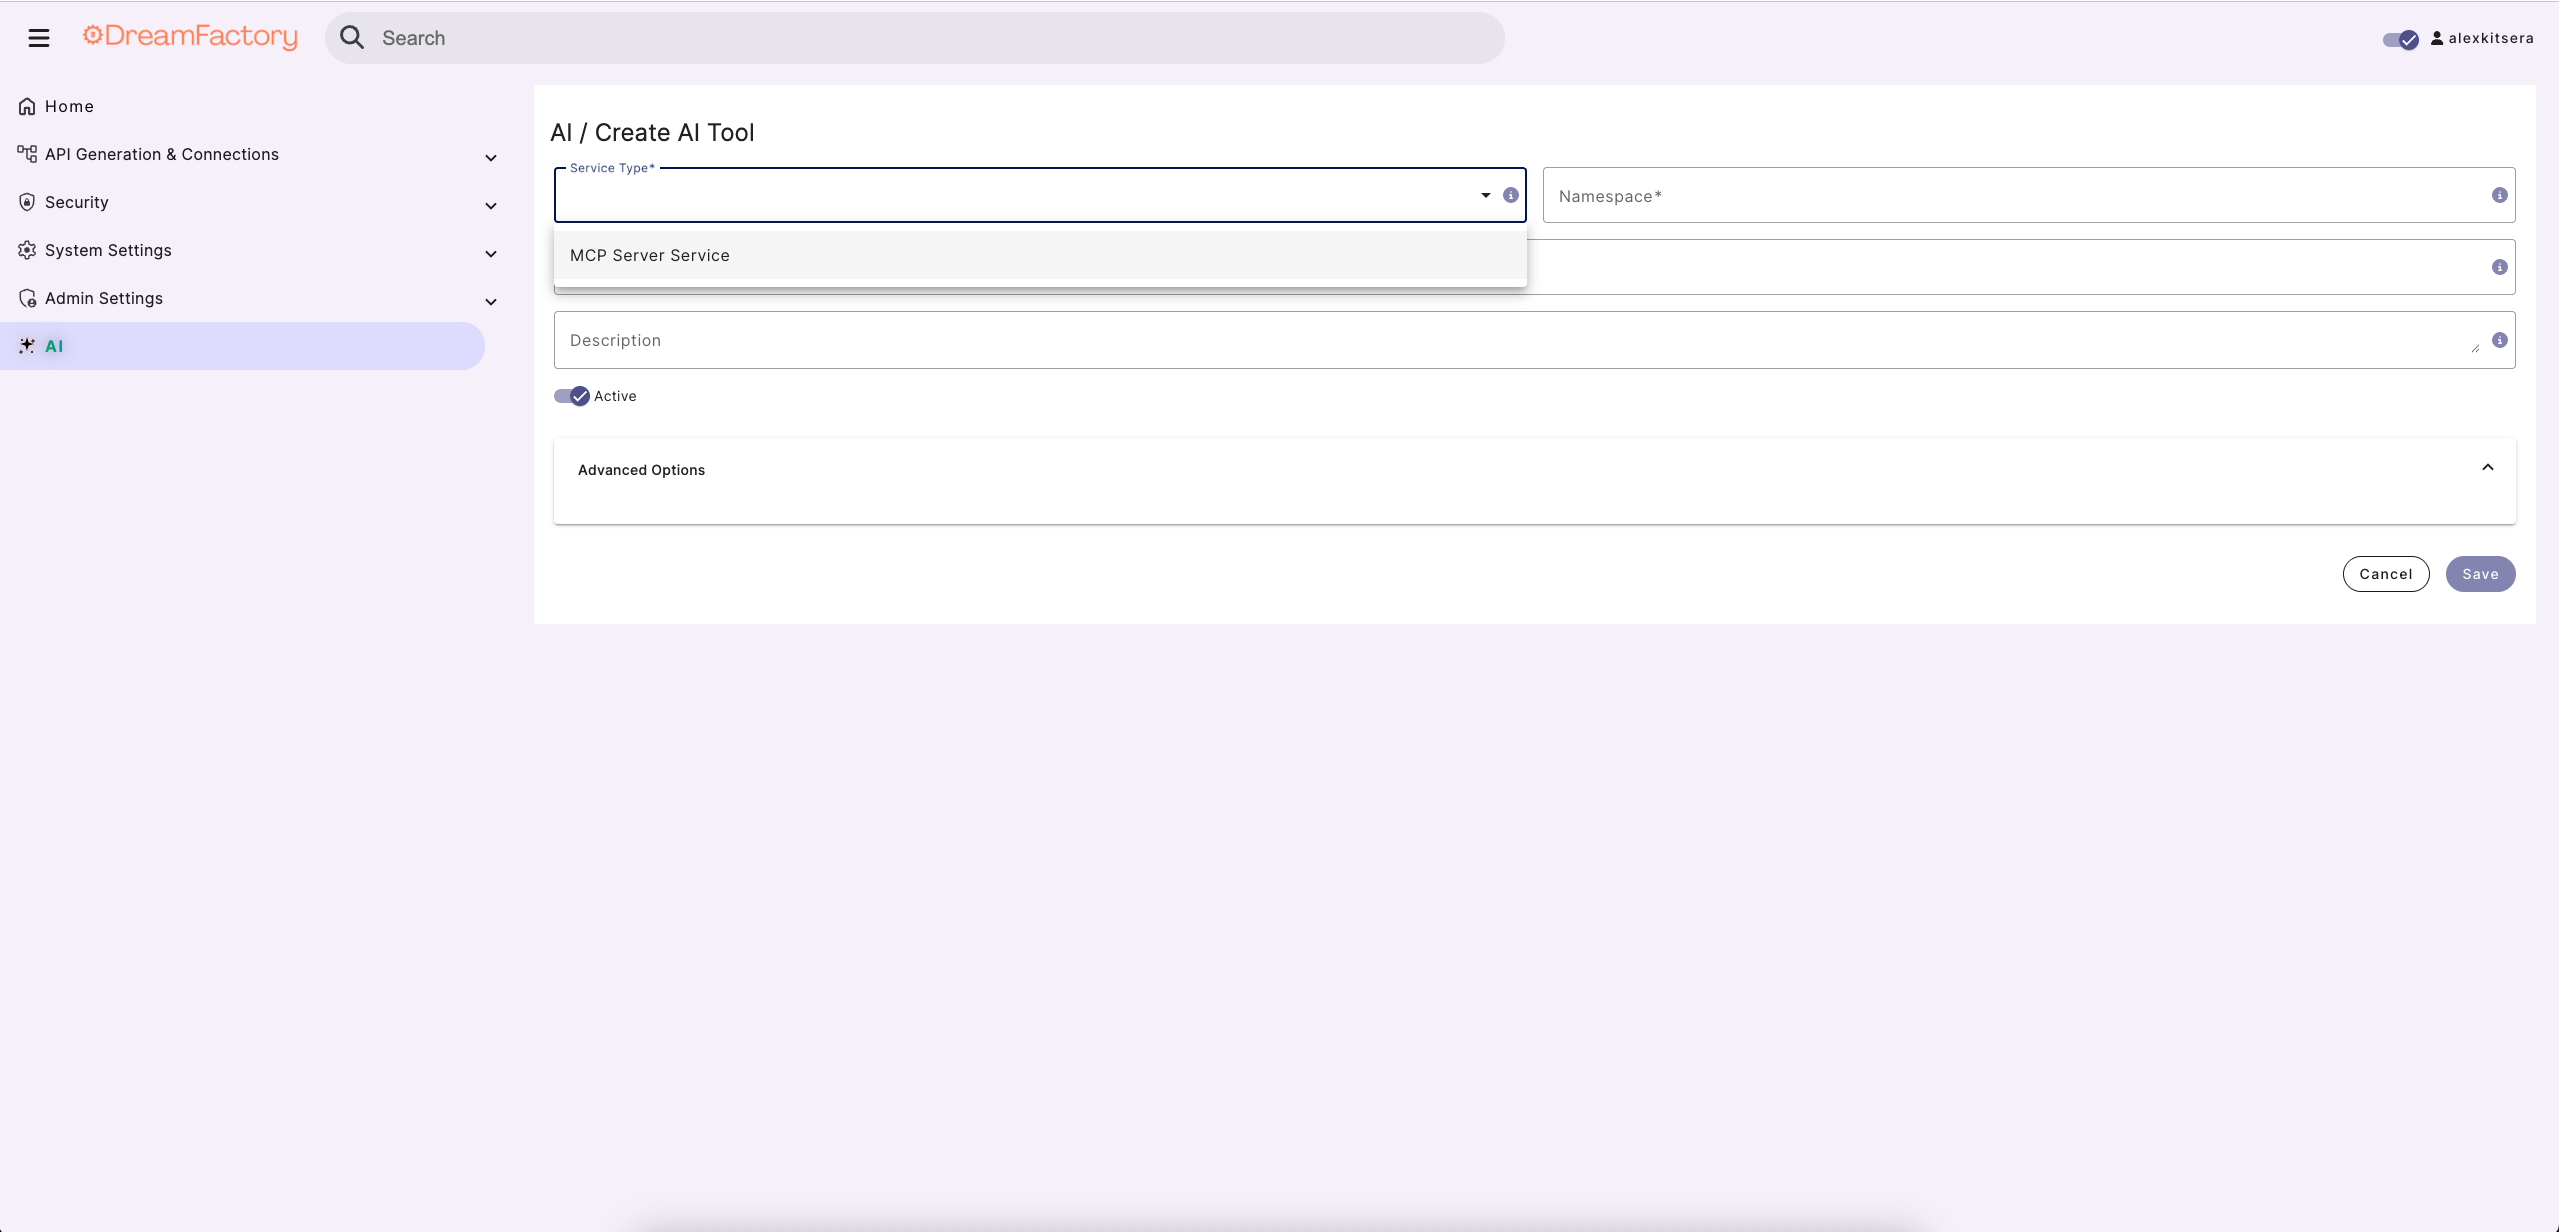
You'll be prompted to supply an API namespace, label, and description. Keep in mind the namepace must be lowercase and alphanumeric. The label and description are used for reference purposes within the administration console so you're free to title these as you please:

Next, you'll scroll down to the Advanced options section. There you'll find the following fields:
| Field | Description |
|---|---|
| OAuth Client ID | The OAuth Client ID is generated by DreamFactory for you. This is the field that MCP Server users are going to provide to the MCP client during connection creation. |
| OAuth Client Secret | The OAuth Client Secret is also generated by DreamFactory for you. This is the field that MCP Server users are going to provide to the MCP client during connection creation. |
| Custom Login URL | Optional field that you could use in order to have a custom MCP login page. DreamFactory's login page would be used if nothing is provided in this field. How to configure? |
You no longer need to select a specific database service. The MCP server automatically discovers all database and file storage services available in your DreamFactory instance when an AI client connects. This means a single MCP server gives your AI assistant access to every configured service.
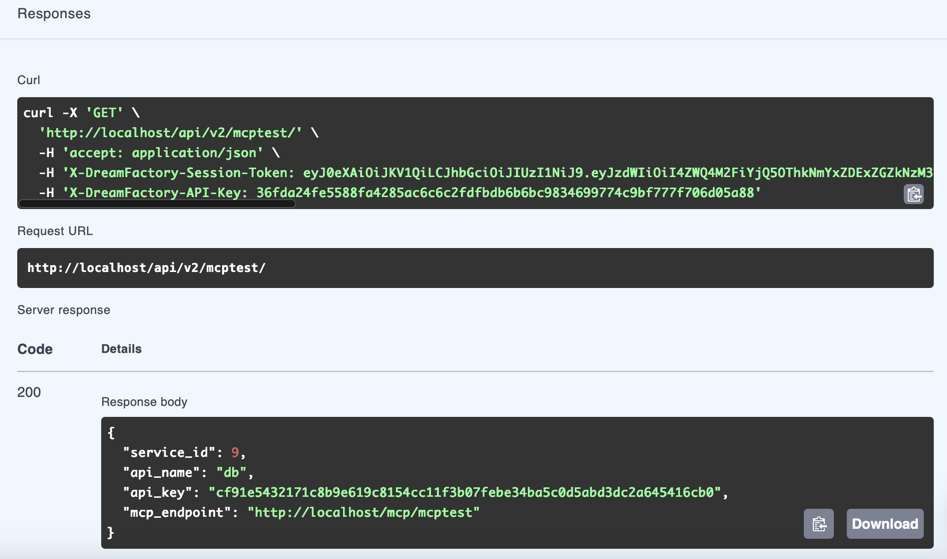
After saving your changes, head over to the API Docs tab to review the generated documentation. You'll be presented with information about the MCP endpoint by running the GET request:
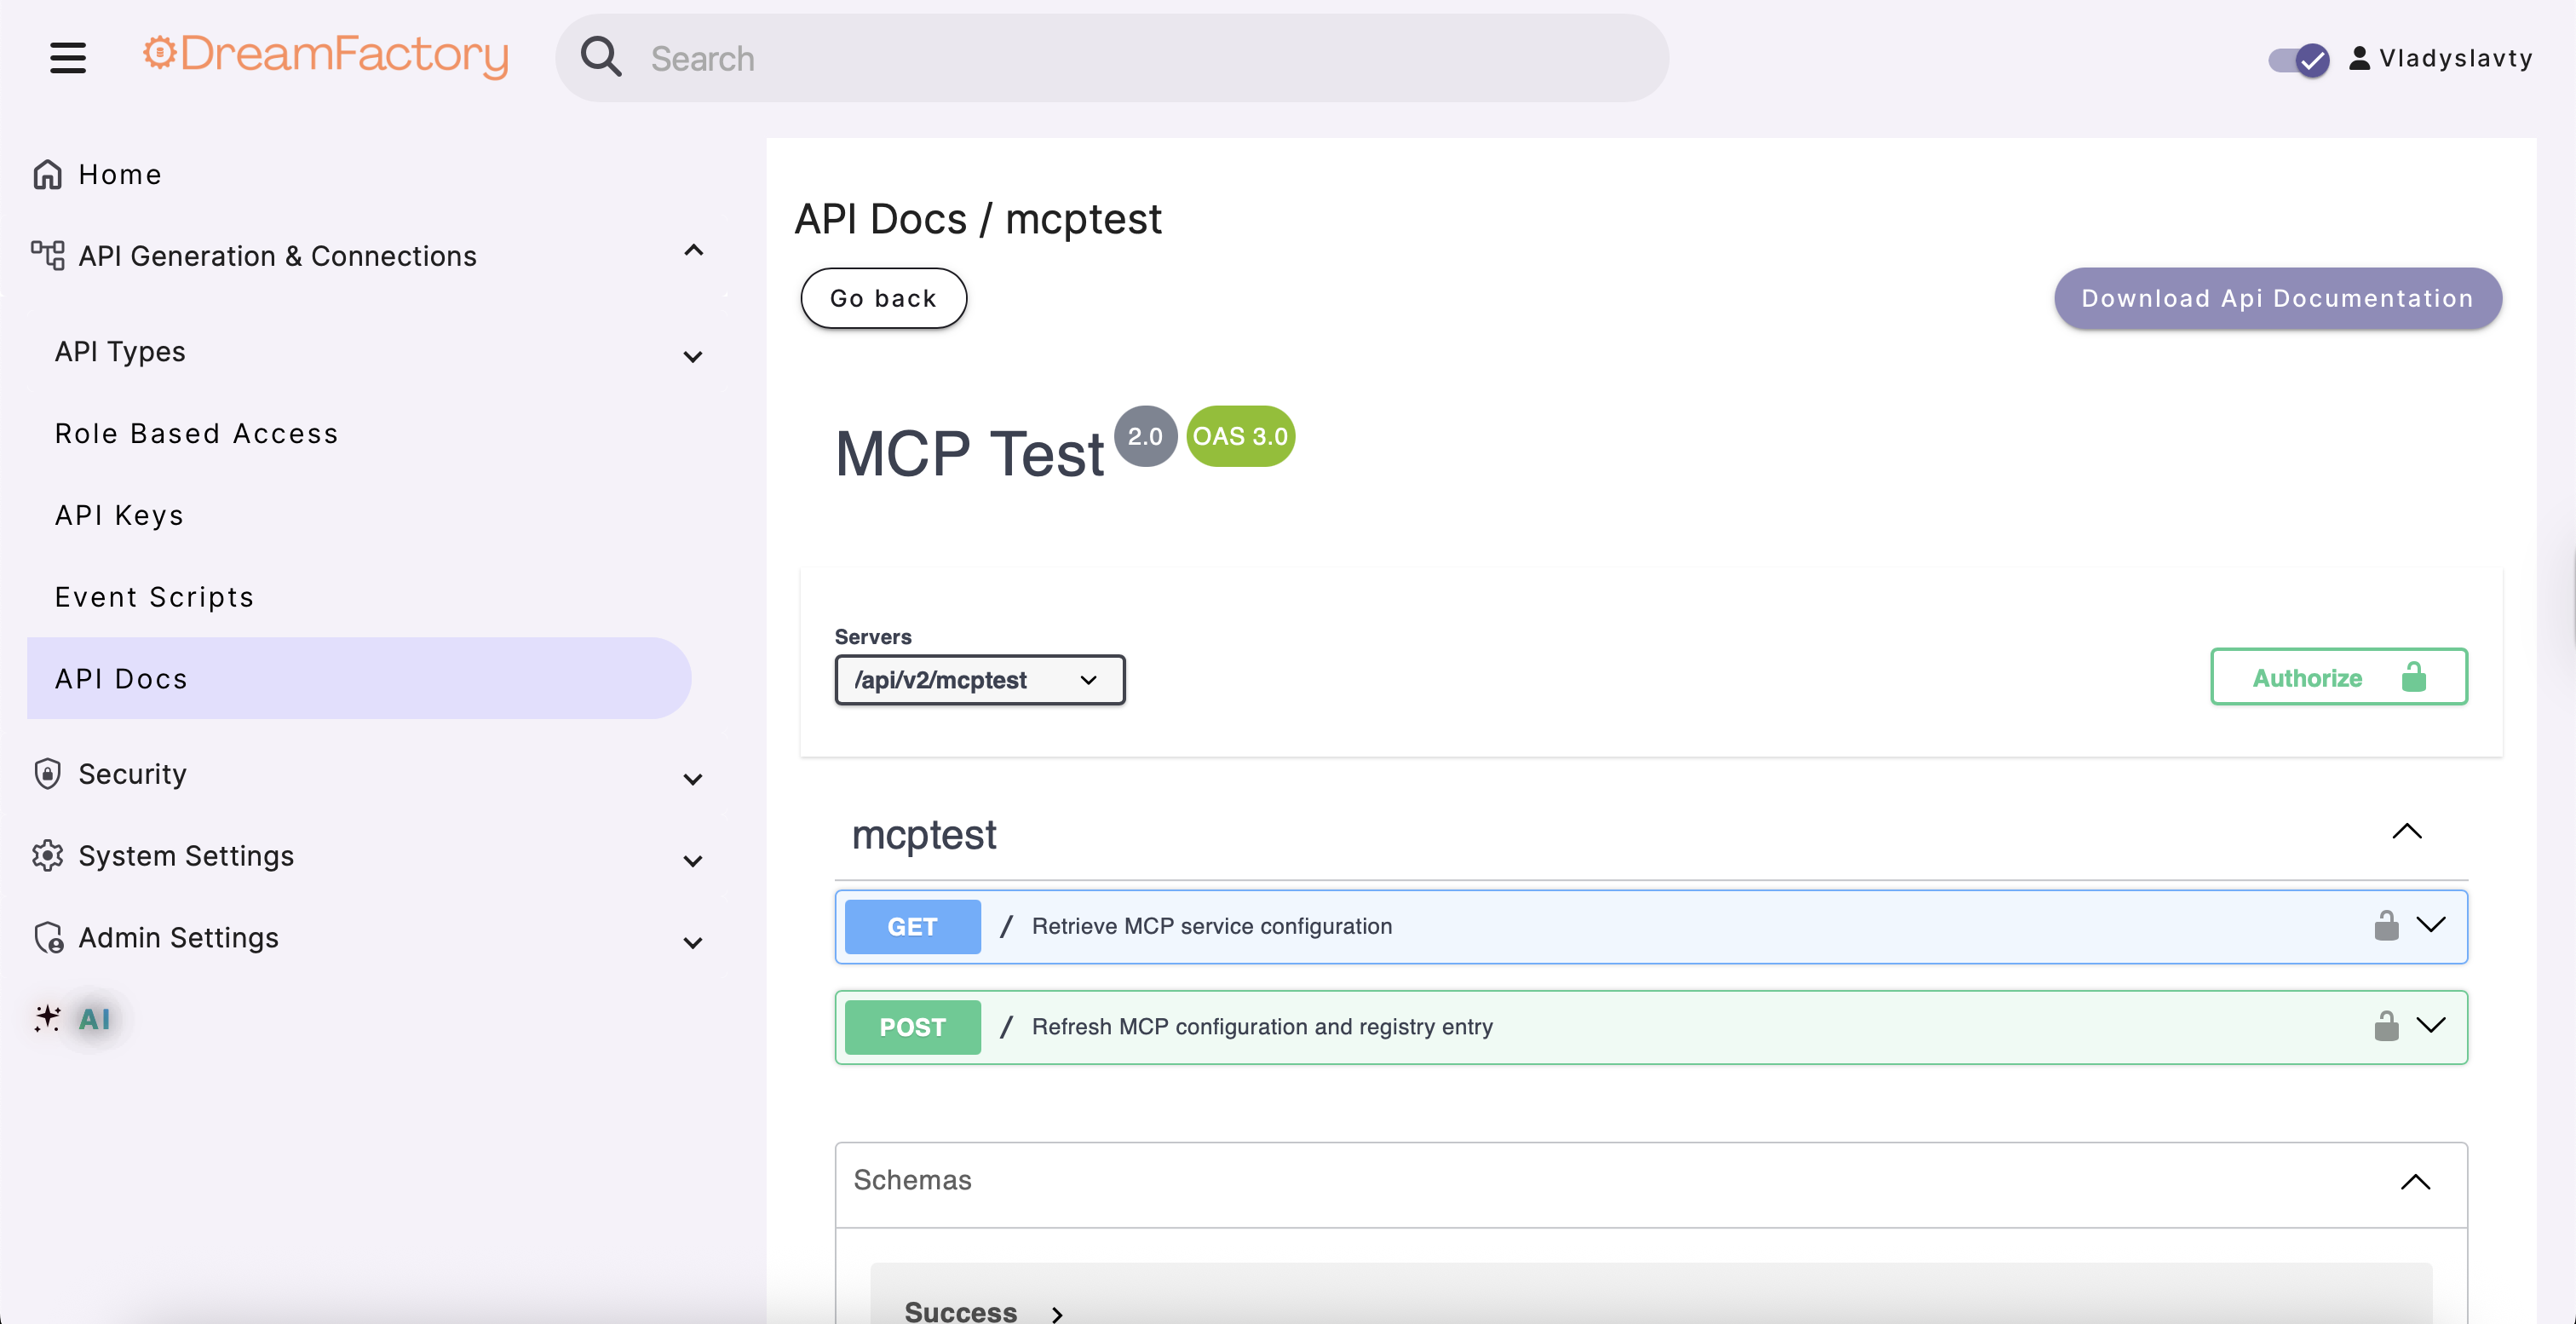
The mcp_endpoint field is what you should use for your AI Agents:
Example Of Usage
First of all you should get your mcp_endpoint that we will use in our Agent.
ChatGPT
To connect your MCP server with ChatGPT:
-
Make sure Developer Mode is enabled in ChatGPT.
-
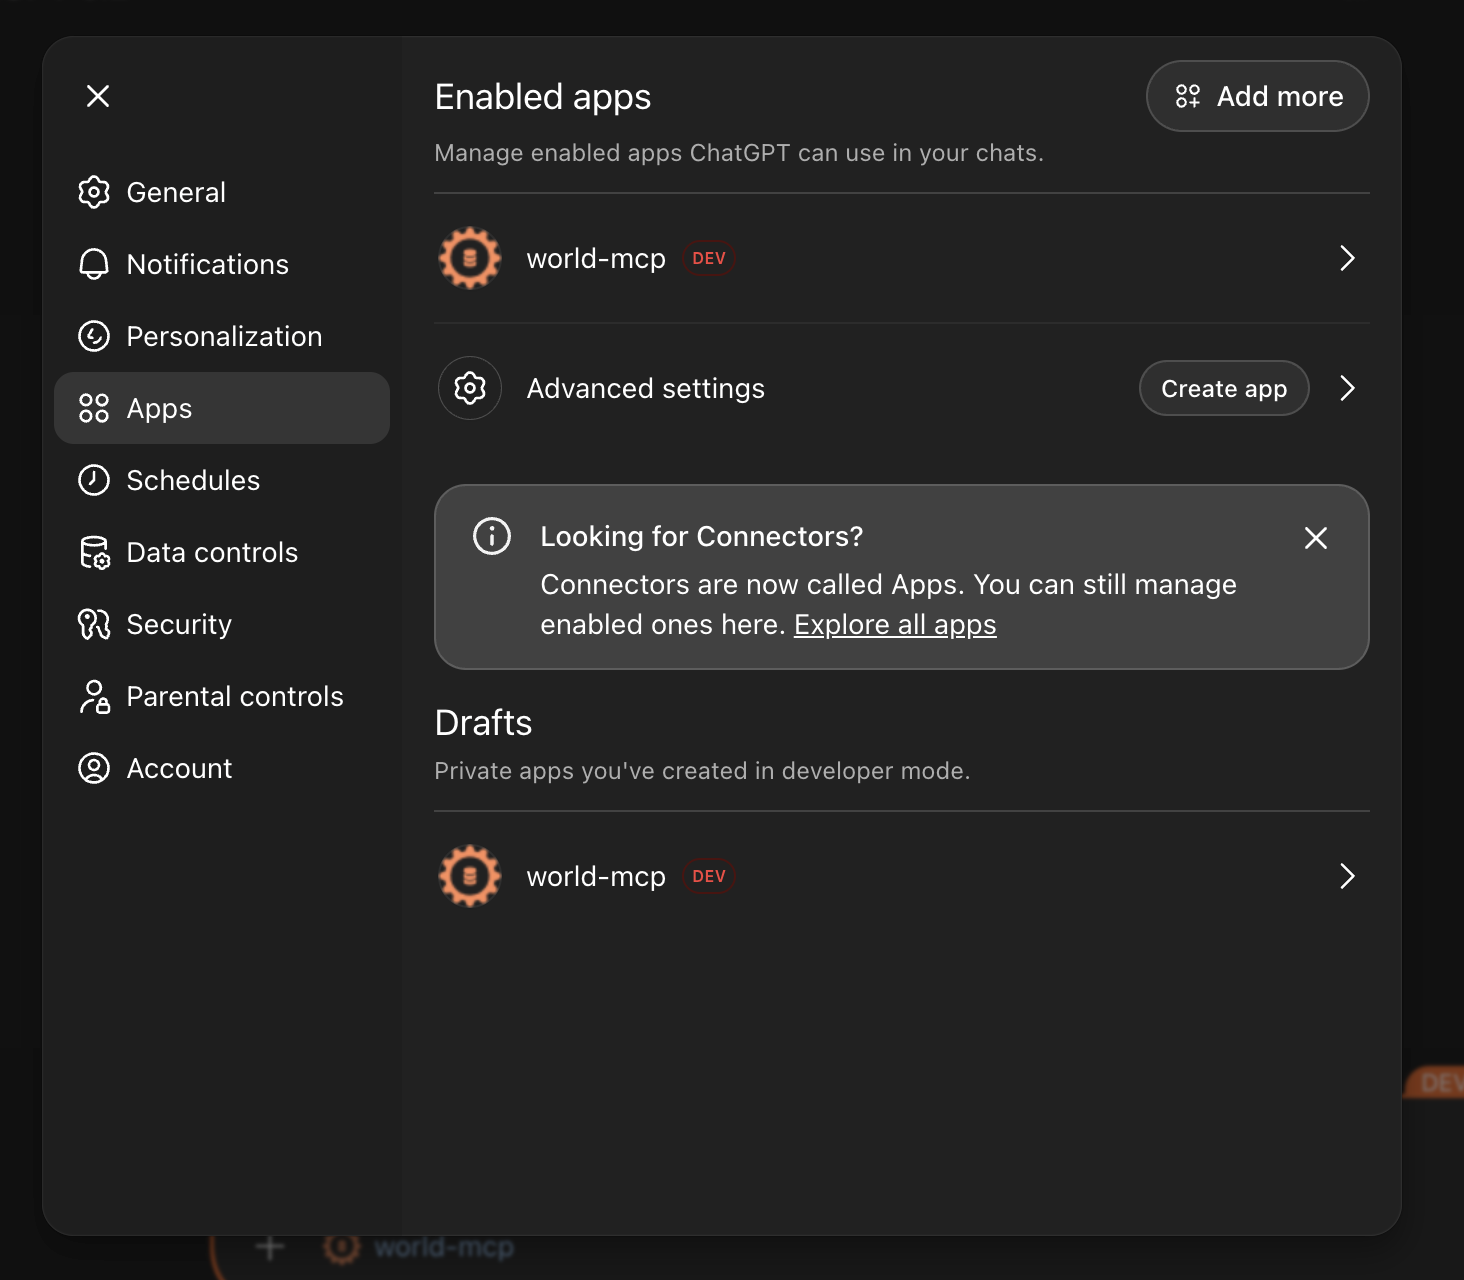
Create a new application by navigating to: Settings -> Apps -> Advanced Settings -> Create app
-
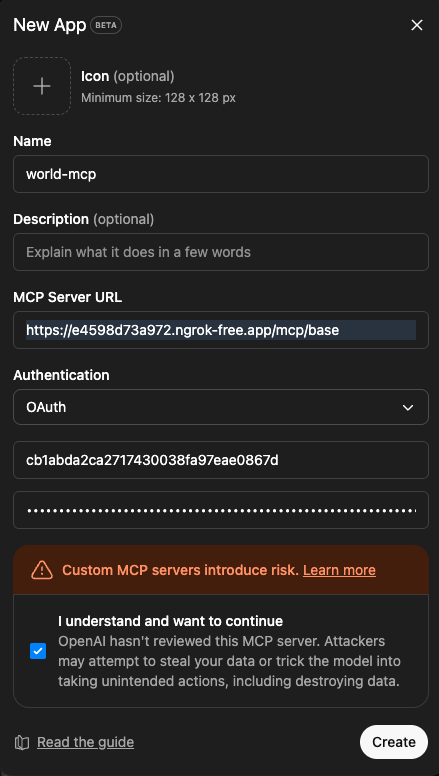
Set authentication to OAuth, use mcp_endpoint, OAuth Client ID, and OAuth Client Secret in your Agent configuration.
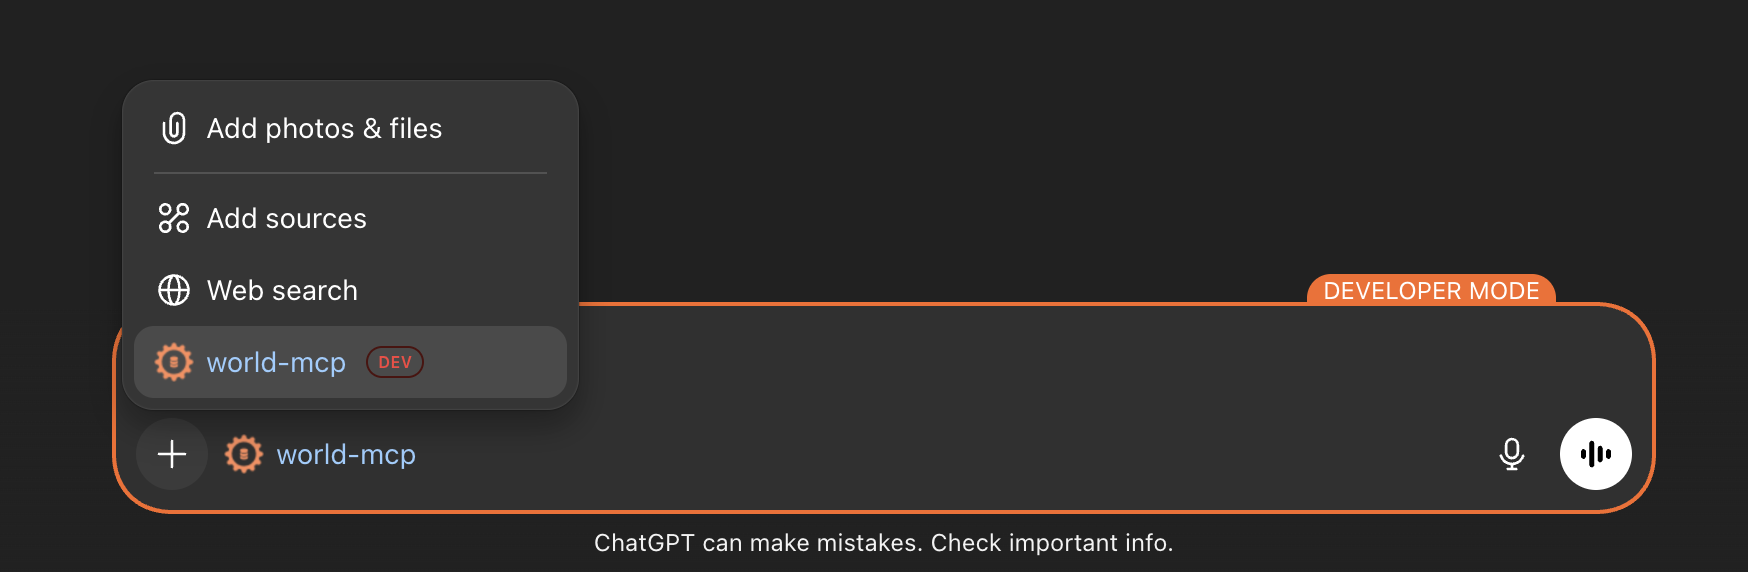
After creating the application, you can attach it to your chat and use its tools. For example, to show the database tables:
- Attach your newly created application to the chat.
- Use the Agent commands to query the MCP server. For example:
Show me tables in my database/list tables
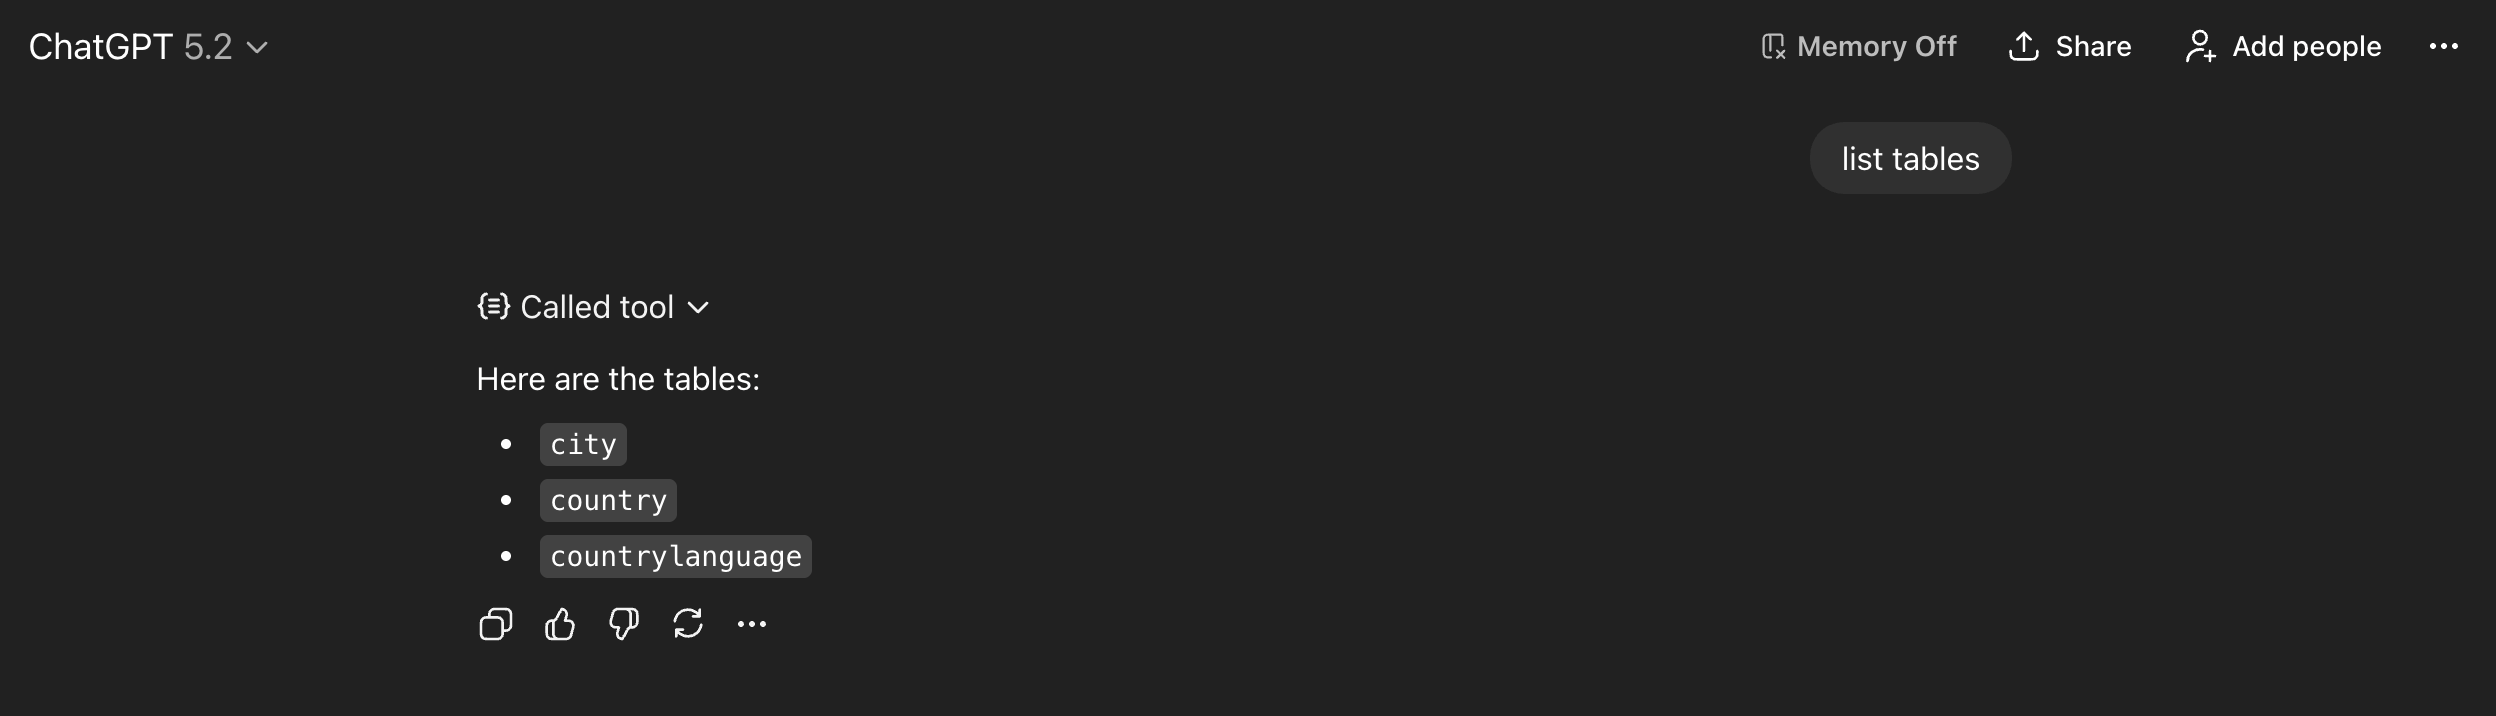
The Agent will connect to the MCP server using the mcp_endpoint and return the available database tables, allowing you to interact with your data directly from ChatGPT.